Gluten-free and Egg-free Recipes (with some Dairy-free options)

Posts tagged ‘egg-free’

Vegetable Pancakes Gluten-free and Vegan

Recently I saw a recipe for vegetable pancakes and thought I’d give them a whirl for lunch one day. They contained gluten, eggs and dairy. I made them without eggs and gluten then decided to completely change the recipe and make them vegan also. Today I gave them a try and they worked out fine. These are not like fritters in texture. They are like a savoury pancake. Although they are vegan, you could use them as a base for making small blini sized ones if you just want allergy free, and top with a little bit of smoked salmon or whatever takes your fancy. Here’s the recipe:

Ingredients

220 g vegetables (I used one carrot, a small zucchini (courgette) and some spring onions)

160 g buckwheat flour

200 ml rice milk mixed with 1 teaspoon white vinegar

1 teaspoon gluten free baking powder

1/2 teaspoon bicarbonate of soda (baking soda)

30 g melted dairy-free margarine (I use Nuttelex)

1 teaspoon salt

1 flax egg (4 teaspoons flaxmeal mixed with 40 ml/g hot water)

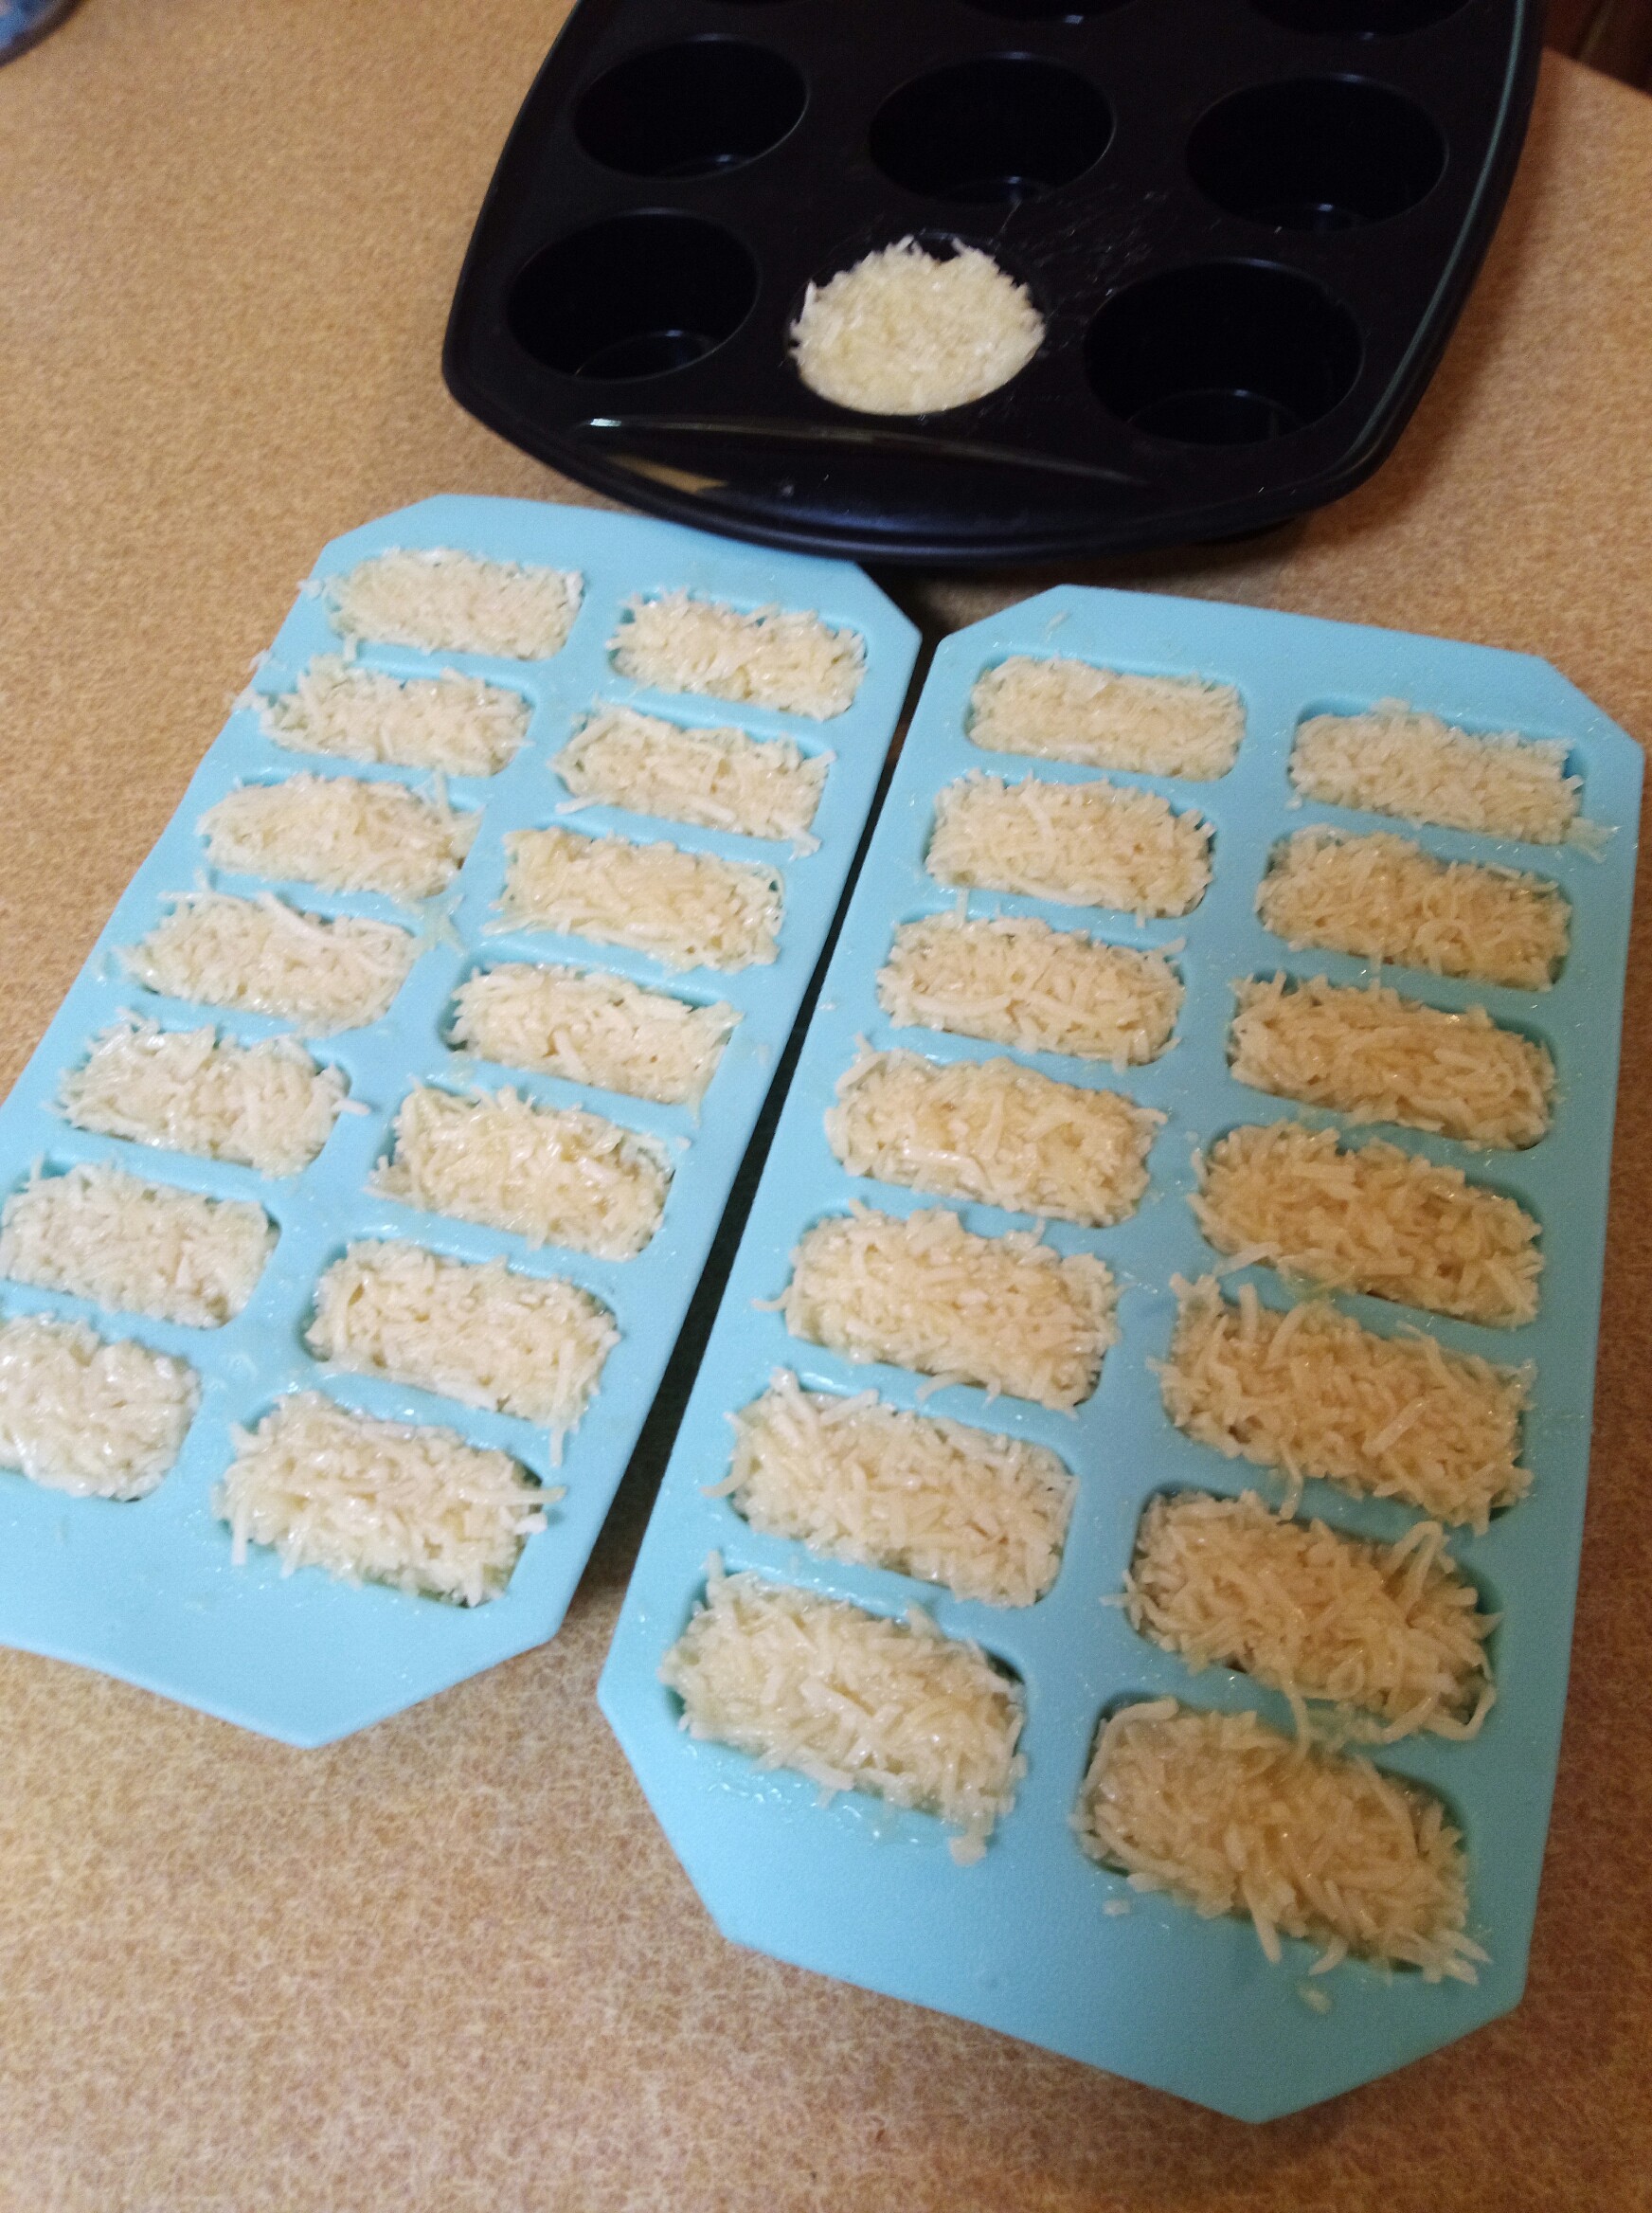
Optional: Add in 60 g tasty cheese (if not vegan and can have dairy) or add vegan cheese

Method

  1. Using a food processor or thermocooker chop vegetables until they are finely chopped. I used speed 7, 10 seconds on my machine (a Smith and Nobel Kitchen Master).
  2. Add all of the other ingredients and blend together (speed 6, 10 seconds on my machine).
  3. I cooked these on a Kambrook pancake maker which was well greased with olive oil spray for a few minutes each side. I used 1/4 cup of batter for each.

Tips: Ensure that the frypan or pancake maker you are using is very well greased as buckwheat flour tends to stick easily.

Gingerbread Men – Gluten-free and Vegan

20191218_150434

I’ve been a little quiet on this blog this year. We’ve had quite the medical roundabout with me having a couple of day surgeries, my youngest son having some medical problems and my husband being diagnosed with a very rare form of lymphoma. Thankfully, although rare, his lymphoma is very low grade and when he gets to the point of needing chemotherapy it should respond well. There’s been little spare time for baking but in time for Christmas I’ve been back in the kitchen trying out new recipes.

I’ve been wanting to sort out a gingerbread man recipe for some time now. In previous years I’ve used a recipe that comes out nicely but doesn’t quite have the zing that I was hoping for. I recently tried another recipe which had the zing but the texture was not quite how we like it. This recipe uses ideas from both recipes I’ve tried and it’s a winner. My youngest son finds it a little too zingy for his taste buds, so if you want it a bit milder just reduce the ginger amount. It’s a good recipe as it’s free from all the common allergens – gluten, dairy, eggs, nuts and soy. Here it is:

Ingredients

250 g dairy free margarine (I use Nuttelex in Australia) or you can use butter if not dairy -free

225 g brown sugar

1/2 teaspoon vanilla extract

60 g water combined with 2 teaspoons of Organ No Egg powder (or use 2 eggs if you can have them) A flax egg should also work but I haven’t tried it in this recipe.

120 g golden syrup (if you can’t get golden syrup, perhaps try treacle)

600 g gluten free plain/all purpose flour (I use Aldi or Orgran gluten free plain flour)

3/4 teaspoon bicarbonate of soda (baking soda)

4 teaspoons ground ginger

2 teaspoons cinnamon

1 teaspoon allspice

Method

  1. Cream margarine/butter, sugar and vanilla with electric mixers.
  2. Add water and No Egg powder and golden syrup and mix well.
  3. Mix the dry ingredients well together and add to the creamed mixture until it is incorporated.
  4. Roll out on floured baking paper until 3-5 mm thick and cut out the gingerbread people.
  5. Transfer to a baking paper lined tray (I use silicon mats on a baking tray).
  6. Cook at 160 C (fan-forced oven) or 180 C (conventional oven) for 15-20 minutes depending on thickness of the gingerbread men.
  7. Cool on the trays then store in an airtight container.

Chocolate Coconut Bars – Gluten-free and Vegan

imag0203-20190113-112417411

For a while now I’ve had this recipe for homemade ‘Bounty’ Bars devised by someone on Facebook called ‘Aldi Mum’. The recipe uses dairy so I figured I’d use the principle of the recipe and convert it to make it vegan. There are only three ingredients and they are so easy to make. I’ve realised that my phone pic above is quite blurry so I need to take clearer pictures and post later.

Ingredients

305 g tin of sweet condensed coconut milk (I use the Panaroo brand)

190 g packet of shredded coconut (I use the Aldi one as the amount of shredding is perfect for this recipe and the 190 g size is exactly right too)

400 g dairy-free chocolate (I used Aldi dark chocolate which says it may contain traces of milk. This is fine for our family who don’t have a dairy allergy but obviously this would be unsuitable for anyone with an anaphylactic dairy allergy. In Big W stores you can buy Kinnerton chocolate which is gluten, dairy, egg and nut-free. Always check the ingredient list!)

Method

  1. Add the coconut to a medium sized bowl and add the tin of condensed coconut milk. Ensure it is thoroughly mixed together.
  2. Form into small logs. I used two silicon ice-cube trays that I bought from Woolworths. With this amount, I had a little left over so used a silicone mini-muffin tray for the extra amount.
  3. Freeze until firm.
  4. Melt the chocolate in a bowl over a pot of boiled water.
  5. Dip the frozen bars into the melted chocolate and place on a baking tray lined with baking paper.
  6. Refrigerate until set then place in a container and keep refrigerated.

Here is a picture of the trays:

imag0202-20190113-11243760


Strawberry Daiquiri

IMAG0070-20180925-11464583

The third strawberry recipe is one for the adults, though a version could be made for the younger ones by omitting the rum. I looked at several recipes before just having a go to see what would work. To get the sugar to dissolve, I used icing sugar. To ensure it is gluten-free, make sure to check that if you are using an icing mixture, that the starch is corn cornstarch and not wheat cornstarch.

Ingredients

100 g ice cubes

1 punnet (250 g) strawberries (cut up)

100 g rum

20 g lime juice

36 g icing sugar/mixture (adjust to your own taste)

Method

  1. Add to a blender or thermocooker and blend until mixed. For the Bellini I think I did speed 10 for 10 seconds. Repeat if needed.

Tips

For an alcohol-free version you could use rum essence, or just omit and use some soda water or lemonade (but omit the added sugar). As always, please drink responsibly.

Strawberry Jam – Gluten-free and Vegan

IMAG0073-20180925-114647464

Here is the second of the strawberry recipes – Strawberry Jam. I wan’t sure how much of each ingredient to use as most recipes I have found use an apple to set the jam. I wanted to avoid using the apple as my mum isn’t able to eat apples but can tolerate a small amount of strawberries. I ended up guessing the ratio and my jam came out okay, though I have modified the recipe to cook it a little longer as I would prefer it a bit firmer. I was busy at the time of making it and didn’t check it using the cold saucer method but I’ve indicated it below to help with determining if the jam is set. Update: I have made this jam with a longer cooking time (25 minutes) so have adjusted the time below. The jam has come out a fabulous texture and is not runny.

Ingredients

500 g strawberries (cut up)

250 g sugar

25 g of Jamsetta (pectin)

Method

  1. Place the strawberries into a thermocooker (I use a Bellini) and do speed 4 for 10 seconds or until the strawberries are roughly chopped. If using a stovetop method, cut the strawberries finely or you could pulse in a food processor/blender until roughly chopped.
  2. Heat at speed 1, 100 C for 5 minutes. For stovetop, bring to the boil.
  3. Add the sugar and Jamsetta and mix well. In the Bellini, speed 4, 10 seconds.
  4. Cook for 25 minutes, speed 1, 100 C (or boil on the stovetop). For the Bellini, remove the measuring cup on the lid and replace with the steamer insert basket to prevent splatter.
  5. Keep a saucer in the freezer and when the cooking is finished, check the jam is done. Place a small amount of jam on the saucer and return to the freezer for 2 minutes. Remove and check. If the jam is wrinkly when you push the sides it is set.
  6. Pour into hot, sterilised jars and seal immediately.

Tips

I had clean jars that had been washed thoroughly. While the jam was cooking I put boiling water into the jars and lids to heat the jars and help to sterilise. The jars were jam jars from store bought jam so were okay with the boiling water, but please take care when putting hot water into a cold jar. After putting the jam in I sealed the jars and left them on the benchtop to cool. I found they sealed themselves as they cooled. I put them in the fridge but if you want to store in the pantry, I suggest you sterilise them in an oven first before using. Here are some links to help.

Strawberry Ice-Cream – Gluten-free and Vegan (with dairy option too)

IMAG0074-20180925-114646318

We’ve had a bumper crop of strawberries here in Australia but sadly, some people have been sabotaging them by placing needles into the strawberries. This has caused the start of a campaign to buy more strawberries to support the farmers. The only thing to be careful of is to cut the strawberries up first to ensure there are no foreign objects present. Cut them up, don’t cut them out is the tagline so this is the first of three recipes using strawberries. First, the vegan recipe for strawberry ice-cream and then the dairy one underneath.

Vegan Version

Ingredients

320 g tin of coconut condensed milk (I use the Panaroo one available from the Asian section of Woolworths)

400 g tin of coconut cream (I use the Aldi version which has no thickeners in it)

500 g fresh strawberries (please cut them up first)

1 tablespoon vanilla

Method

  1. Place all ingredients into a blender or thermocooker and blend thoroughly.
  2. Place into a freezer safe container and freeze until set.

Tips

You don’t need an ice-cream maker to set this ice-cream as it will set without ice crystals. It does set very firmly. If you want a softer ice-cream, add more vanilla or add some alcohol to the mix (e.g. rum) which will prevent it from freezing so hard. You need to leave it on the bench a while to soften before scooping. Another idea is to freeze it into small muffin sized silicone moulds so that it is already portioned out for easy removal. You can also make this ice-cream using other fruit. I often make mango ice-cream this way.

Dairy Version

Ingredients

600 g thickened cream (or pure cream) Ensure it has no gluten thickeners in it.

400 g tin of sweetened condensed milk

500 g strawberries (cut up)

1 tablespoon vanilla

Method

  1. As for the vegan version above


Pancakes – Gluten-free and Vegan

IMAG0063

Yes, I have posted about pancakes before. The buckwheat recipe I posted recently is still a favourite here, however, I wanted to revisit the recipe I posted a little while back for regular pancakes (pikelets). When I visited the UK in 2016 I realised that the Orgran No Egg egg replacement powder is not as readily available as it is here in Australia so I wanted to see if I could make pancakes with another substitute. I’m going to try applesauce at some stage as a substitute but I know that mashed banana is also used as an egg replacement. I tried it yesterday and it worked fine. All of the other ingredients are the same as in the original recipe but I’ve re-posted it here for convenience. There is also a flax egg alternative if you don’t have or can’t eat bananas.

Ingredients

300 g gluten-free self raising flour

1/2 teaspoon bicarbonate of soda (baking soda)

1 mashed well ripened banana (medium size)* see flax alternative below

350 ml milk of choice (rice/coconut milk for dairy-free or regular milk if not dairy-free)

2 teaspoons white vinegar

20 g melted Nuttelex (or other dairy-free margarine, or butter if not dairy-free)

Method

  1. Sift all of the dry ingredients together.
  2. Mix the vinegar and melted Nuttelex with the milk and mashed banana and add to the dry ingredients.
  3. Use electric mixers to mix well.
  4. Heat a non-stick frypan, pancake maker or pie maker and spray with olive oil.
  5. Add spoonfuls of the mixture and allow to cook until bubbles form at the surface then flip over to cook on the other side.
  6. Allow to sit in a stack on a plate for 5-10 minutes before eating (this allows the inside to cook further – otherwise it can be a little doughy on the inside).

Bellini instructions:

  1. Add the Nuttelex/butter to the Bellini bowl and mix speed 1, 60 C for 3 minutes or until melted.
  2. Add the milk, banana and vinegar to the bowl.
  3. Add the flour then the bicarb. soda on top.
  4. Mix at speed 6 for 10 seconds. Scrape down and repeat if needed.

Tip: You may need to add a little more milk to the mix depending on which milk you use. For coconut milk, I find it needs a little more than with rice or dairy milk. If the mix doesn’t drop onto the frypan easily, add a tablespoon (20 g) at a time and mix until it looks right.

I cook mine using a Kambrook Pancake maker and use 1/4 cup of mixture. I preheat the maker then open up and spray with olive oil. I then add the mixture into the deep side and leave the maker open and allow it to cook. When the bubbles start breaking on the top, I close the lid and flip them over to the other side of the maker. I then open it up and spray the deep holes and add more mix while the first two are cooking on the other side. The instructions tell you to close the lid but I find that this compresses the pancakes and makes them doughy inside.

*An alternative to the banana is to use 6 teaspoons of flax meal and 80 g of hot water. Mix together and allow to gel for 10 minutes before using in the mixture.


Strawberry Mousse – Gluten-free, Egg-free and Dairy-free

IMAG0058

I’ve posted a strawberry mousse recipe previously but it was a gluten and egg free version which contained dairy. Strawberries are in season here in Brisbane at the moment and very cheap, so I thought I’d have a go making a mousse that was also dairy-free. It is not vegan as it contains gelatine. I recently bought some agar agar powder to have a go with but I’m not sure how to substitute it for the gelatine. I’m told that it will have a very different texture. I’ll have a try sometime. Here’s the recipe:

Ingredients

500 g (2 punnets) strawberries

60 g sugar

3 teaspoons gelatine powder

60 g hot water

250 coconut yogurt (check to make sure there are no gluten-containing thickeners, also check that it is dairy-free) I used the Cocobella brand that I bought from Woolworths.

300 ml coconut cream (refrigerated in the can)

Method

  1. Sprinkle the gelatine over the hot water and allow to soften.
  2. Hull and chop strawberries and  puree in a blender. In a Bellini thermocooker I put them in whole and do speed 8 for 10 seconds.
  3. Add the sugar to the puree and heat in a medium sized saucepan until the sugar is dissolved. In the Bellini do speed 1, 90 C for 5 minutes. Remove from the heat and stir in the gelatine (speed 4, 6 seconds on the Bellini). Allow to cool.
  4. While the puree is cooling, whip the coconut cream with hand mixers until the cream doubles in volume. It won’t be as stiff as whipped dairy cream, but it will be aerated.
  5. Mix the yoghurt with the puree (speed 4, 5 seconds on the Bellini) and then fold in the whipped coconut cream.
  6. Refrigerate until set.

Chocolate Fudge – Gluten-free and Vegan

IMAG0056

Making fudge has had a bad history for me. When I was 14 I tried to make chocolate fudge. The recipe said to take it off the heat at a certain point, add butter and then beat it hard with a wooden spoon. I was a bit too enthusiastic with the wooden spoon and a pile of very hot fudge slopped out of the saucepan and onto my bare leg (I was wearing shorts). My father scooped me up in his arms and put me in the bathtub and had the cold water on immediately, but I still had a nasty burn. Thankfully there was no scarring but ever since I’ve been wary of piping hot things on the stove. A few years ago I made a caramel fudge in my Bellini but last night I decided to try a chocolate fudge on the stovetop. I wanted to make it vegan as I’m taking it to friends tomorrow who can’t have dairy or gluten. It’s worked out fine but if you try this please be very careful and also I’d suggest not having young children around your feet while making it as it needs careful attention and you don’t want the risk of them grabbing the saucepan. I started with a non-vegan recipe and converted it using coconut milk and Nuttelex. Here it is:

Ingredients

400 g white sugar

45 g cocoa powder

235 g coconut milk

55 g Nuttelex (or other dairy-free margarine)

1 teaspoon vanilla extract

Method

  1. Grease a square 20 x 20 cm tin/dish with Nuttelex (I used an oven-safe glass dish). Measure out the Nuttelex and vanilla extract into a small bowl.
  2. Add the sugar to a large saucepan and sift the cocoa on top. Add the milk and stir to combine. Try not to get the sugar up the sides of the saucepan as it will affect the smoothness of the fudge if the sugar crystallises out.
  3. Put on a high heat to bring to the boil, stirring often. Once boiling, turn down the heat to a medium level which will keep it boiling. On my electric stove top I have levels 1-6. I turned it down to level 3.
  4. Use a candy thermometer to measure when the mixture is at 115 C. This took quite a while – I estimate 15-20 minutes. If you don’t have a candy thermometer, test by putting a drop of the mixture into a glass of cold water. It will form a soft ball when ready.
  5. Remove from heat and add Nuttelex and vanilla extract. Beat with a wooden spoon until the fudge loses the glossy look. Please be careful!
  6. Pour into the tin and allow to cool before cutting up. Cut the squares quite small as the fudge is very rich and it could be quite devastating our waistlines!

Doughnut Muffins – Gluten-free and Vegan

IMAG0049

A couple of years back on a Facebook thermocooker page this recipe for doughnut muffins went viral with everyone cooking them up. They are very yummy but the good news is that they can be made gluten-free and vegan easily. I’ve modified the recipe and upsized it to make 12-14 muffins which suits our household. You also don’t need a thermocooker to make them. I’ve used apple puree/applesauce to replace the egg, but No Egg replacement powder also works well. I have also used coconut milk for the milk. I think they would taste lovely with some chopped apple in them so that might be a future try. Eaten warm, these are fantastic. If you have any leftover, just freeze and reheat in the microwave and they will still taste good. Here’s the recipe:

Ingredients

300 g gluten free plain flour

2 1/4 teaspoons baking powder (make sure it’s gluten-free)

1/2 teaspoon salt

1 teaspoon cinnamon

1/2 teaspoon nutmeg

240 g caster sugar

360 g rice milk (or coconut milk or dairy milk if you can have it)

100 g light flavoured oil (I use sunflower or canola)

60 g applesauce/apple puree (or you could use 60 g water + 1 1/2 teaspoons of Orgran No Egg powder)

Topping: Approximately 30 g of melted Nuttelex (or other dairy-free margarine) or butter (if not vegan and can have dairy), cinnamon sugar (I never measure this, I just add a couple of tablespoons of sugar to a bowl and stir through a teaspoon of cinnamon and add more of less of each until it looks right)

Method

  1. Add all dry ingredients to a bowl (or thermocooker) and mix well. In a thermocooker press pulse a couple of times to mix.
  2. Add the wet ingredients and mix well with beaters or on a thermocooker use speed 6, 10 seconds and then scrape down the bowl and then speed 6, 6 seconds.
  3. Cook in muffin tins at 160 C (fan-forced oven) or 180 C (conventional oven) for approximately 20-25 minutes or until a skewer inserted in the centre comes out clean. The mix makes 12-14 muffins.
  4. After a few minutes tip the muffins out of the tins. Dip or brush the tops with melted Nuttelex and sprinkle with cinnamon sugar. I put the cinnamon sugar into a shaker and shake on top.